Last modified:
As a technician or technical team, you manage all work orders in meteocontrol’s O&M app:
-
The app provides an overview of all your assigned work orders, which you can then decline or accept.
-
Carry out the accepted work orders on-site, filling out necessary forms and checklists directly in the app.
-
Submit all results of completed work orders directly to VCOM.
Overview of the O&M app
In the O&M app, you will find a side menu and an overview of your assigned work orders.
Side menu
In the ![]()
-

Recommendation
Always sync your data manually before working in the O&M app.
-

-

-

-

-

-

Work order overview
Select ![]()
-
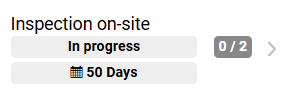
The title and status of every work order is displayed, as well as the days remaining until the due date. If this date has already passed, the work order will be displayed as Overdue.
-
You also see a Forms counter that shows you how many forms and checklists the work order contains and how many are already finished.
Example
0/2 indicates that zero out of two forms or checklists have already been submitted to VCOM.
Receive notification and decide on assignment
You will be notified via email as soon as a work order has been assigned to you. In the work order overview of the O&M app, this work order has the status Open. Select it to view the details. Then decide between the two available options. Your decision also applies to all additional assignees.
-
Decline: If you are unavailable to carry out the work order, select Decline and provide a short reason for rejection. The work order will then disappear from the work order overview in the app. The status in VCOM will change to Declined. The O&M manager must assign different technicians.
-
Accept: If you are available to carry out the work order, select Accept. All assignees will then be able to open the attached forms and checklists, track time, or check-in to the site. The status of the work order will change to In progress in the app and in VCOM.
Working on site
After accepting the work order, check-in on site, track your time, and fill in forms and checklists while carrying out the work order.
Note
The steps described here serve as typical example and describe a scenario where the work order has one checklist and one form. However, the details and order of your personal workflow may differ depending on the specific site, whether your work order includes forms or checklists at all, as well as other possible circumstances on and off-site.
-
The module VCOM CMMS is activated for the respective system. See Activate CMMS.
-
User group technician or higher
-
You have installed the O&M app. See Install VCOM O&M app.
-
You have accepted the work order.
-
You have arrived on site with all your work equipment.
-
In the O&M app, open the

-
Select the work order you want to carry out.
-
Start tracking your working time. See Time tracking with CMMS.
-
Read through the access and safety instructions for the site under


-
If available, read through the checklists of the work order under

-
Check in to the site on your own. See Site access with CMMS.
-
Open the first form. This will lock it for possible other assignees.
Caution with locked forms
-
The

-
You can Unlock and open a locked form anyway, but then the latest version of it is only synced from VCOM to your O&M app. This sync does not necessarily include the input that the technician who locked the form in the first place is entering right now.
-
Only proceed if you can coordinate the syncing and submitting of the form with the technician mentioned in the appearing confirmation window when selecting the form. Otherwise, opening a locked form can lead to data loss.
-
Working offline: Be aware that a form can not be locked when you open it while offline. Other assignees will therefore not be informed that you are working on it. We recommend opening forms while you are still online.
Sample scenarios for collaborative working with locked forms
Scenario 1: Possible data loss
Assignee B opens the locked form that assignee A is still working on. But as a form is always synced from VCOM upon opening, assignee B does not see the changes assignee A already made in the form. When assignee A syncs the form to VCOM, it is overwritten by the version of assignee B shortly after. If both assignees did not coordinate their inputs, the data of assignee A is lost.
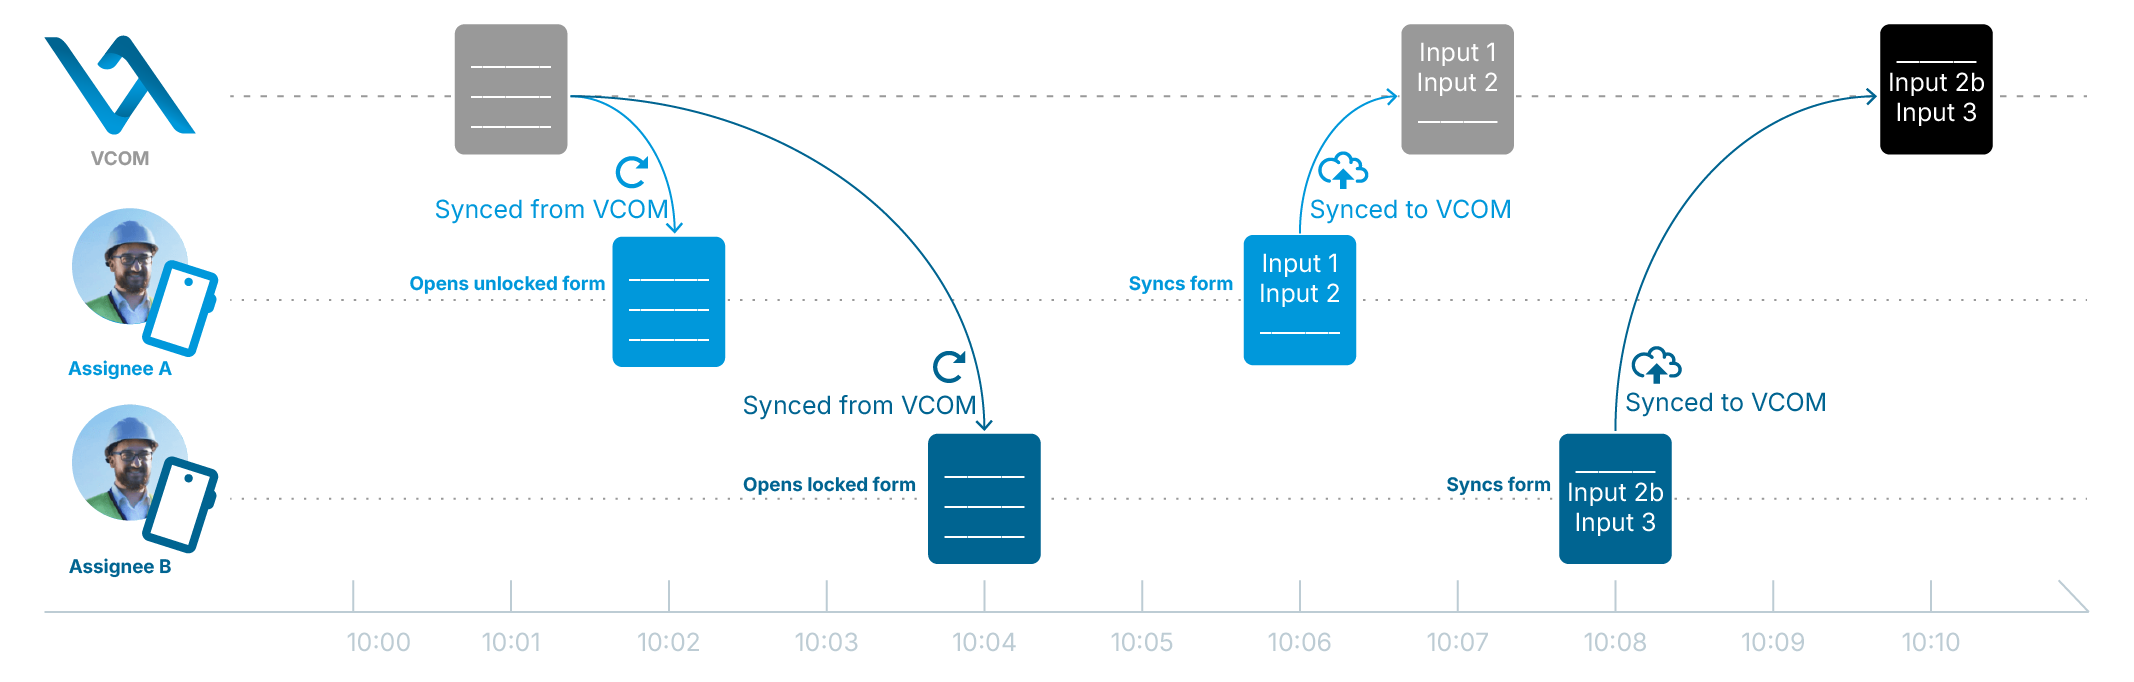
Scenario 2: No data loss
Assignee A opens and edits the form. After syncing it to VCOM it gets unlocked again. When assignee B opens the form, the changes of assignee A are already available in VCOM and therefore assignee B gets the latest version upon opening. Assignee B decides to change input 2 while seeing what assignee A entered there before. When assignee B syncs the form to VCOM, all data is included.

-
Process the first form under
-
Fill in all the input fields. Add pictures and sign signature fields if required. Some of the input fields are already pre-filled as they contain data retrieved automatically, such as date, location, or capacity.
-
Navigate through the pages of a form by selecting


-
Notes on preserving data
-
Stored locally: All your input is auto-saved on your local device while working in the form.
-
Available for others: Select

-
Continue later: Select

-
Working offline: You can not
Tip
If you discover any issues on-site that are unrelated to the current work order, upload a picture under ![]()
-
When you have finished filling out the form, select Submit form. This will sync your inputs to VCOM for the O&M manager to check. In the O&M app, the form will be marked with a

Notes on submitting a form
-
After submitting the form, you and other assignees can no longer edit it. However, inputs can still be viewed.
-
Submitting one form does not set the whole work order to done. It still has the status In progress.
-
Check off the remaining items on the checklist and submit it to VCOM as well. The checklist will be marked with a
Mark a work order as done
When you have finished and submitted all forms and checklists, you can mark the whole work order as done in the O&M app.
Steps-
Leave the site and check yourself out. See Site access with CMMS.
-
Stop the time tracking for the work order. See Time tracking with CMMS.
-
In the work order, select Mark work order as done.
The work order’s status in VCOM is now set to Done and the O&M manager receives a notification. The work order also disappears from your work order overview in the app.