Last modified:
About the Modbus configurator
To connect devices to the blue'Log that are not supported by the all-in-one driver, you can use the Modbus configurator (license required). The Modbus profiles you create are specific to the blue’Log where the license is applied.
Supported device categories
-
Inverter
-
Meter
-
Sensor
-
Battery
-
Tracker
-
String monitoring
-
Status DI external
-
Genset
-
Power plant controller
Note
Meters can be used for power control if a Modbus profile is set up. However, inverters can not manage power control.
Supported data points
All supported data points can be viewed in the import specification. It is not possible to import values that return an error message.
Limitations
The Modbus configurator cannot be used to:
-
Scan two logical devices (Modbus profiles) that share the same Modbus address (IP or bus address), even if they originate from a single physical device.
-
Scan virtual devices, such as virtual meters.
Meters and power control
If you use a meter for power control, it must be able to read out the following data points:
|
Description |
Abbreviation |
Unit |
|---|---|---|
|
Apparent power |
S |
VA |
|
Reactive power |
Q |
var |
|
Power AC |
P |
W |
|
Active energy (export) |
E_IMP |
Wh |
|
Active energy (export) |
E_EXP |
Wh |
|
Grid frequency |
F |
Hz |
|
Current AC phase 1 |
I1 |
A |
|
Current AC phase 2 |
I2 |
A |
|
Current AC phase 3 |
I3 |
A |
|
Phase voltage L1L2 |
U_L1L2 |
V |
|
Phase voltage L2L3 |
U_L2L3 |
V |
|
Phase voltage L3L1 |
U_L3L1 |
V |
Add a new Modbus profile
Prerequisites
-
blue'Log XC with firmware 17.0.11 or higher
-
Modbus configurator license. See License and Modbus configurator data sheet.
-
Advanced knowledge of the Modbus communication protocol
-
Modbus interface description from the device manufacturer
Steps
-
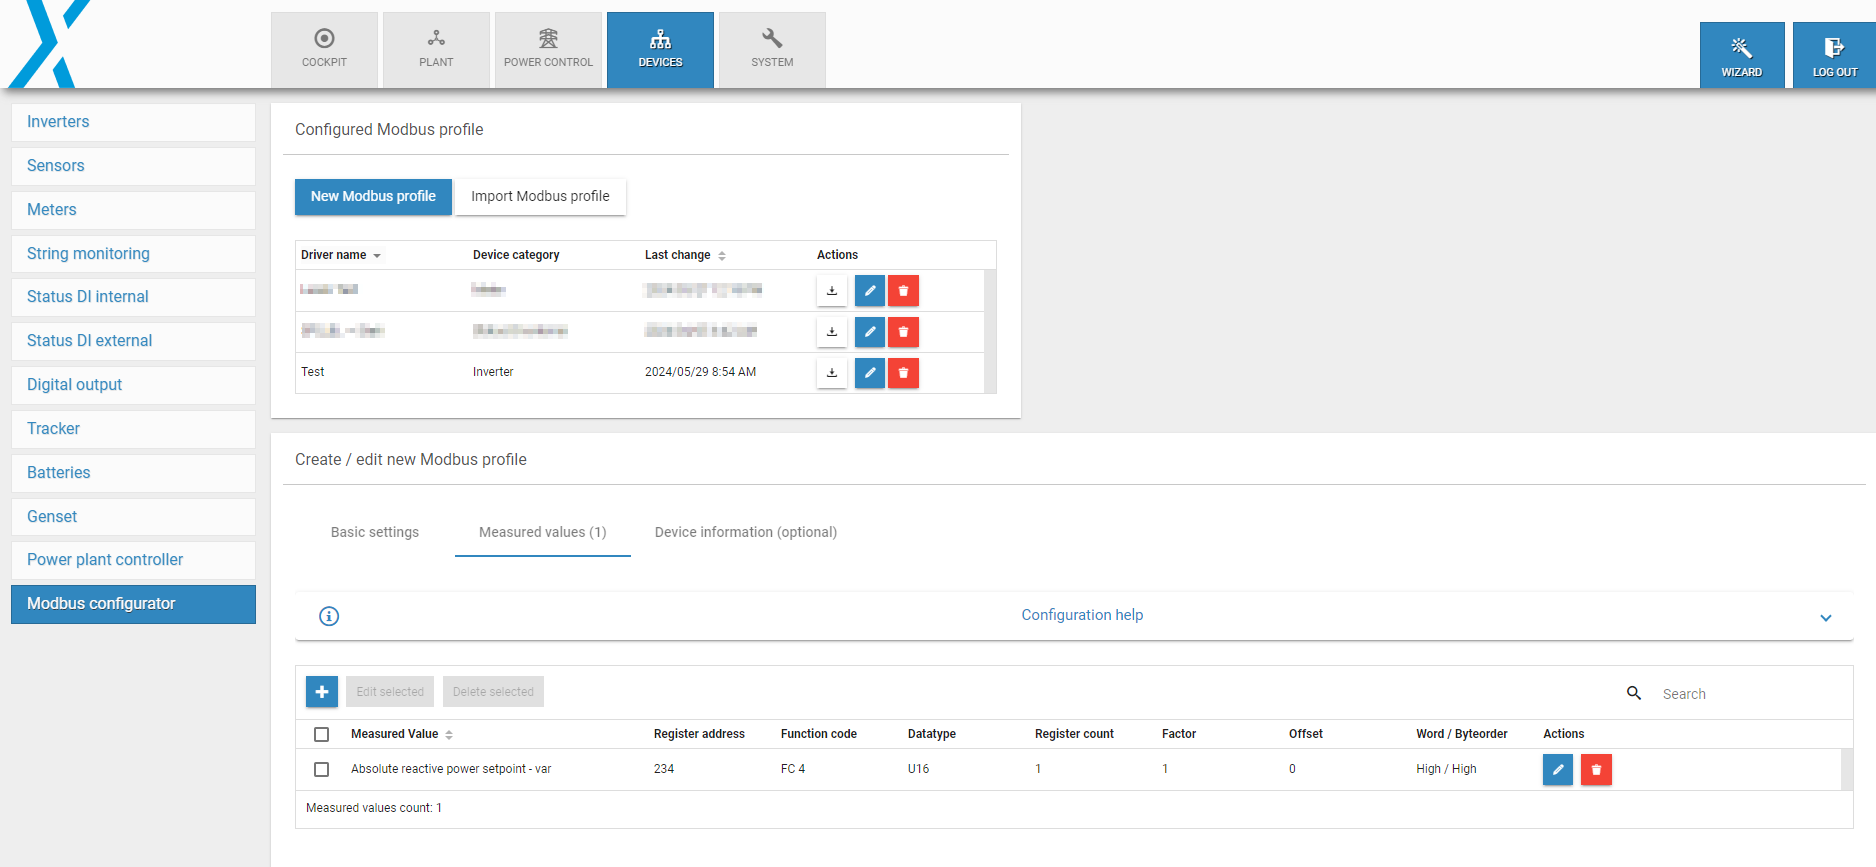
Select New Modbus profile.
-
A window appears. For detailed assistance, select Configuration help.
-
Under the Basic settings tab, enter the Driver name and Device category. The other fields are optional.
-
Under the Measured values tab, select the Plus icon to add the values to be read from the device.
-
Refer to the Modbus interface description from the manufacturer.
-
-
Optional: Under the Device information tab, enter the serial number, model, and firmware.
Once created, the profile is available under Configured Modbus profiles, where you can download, edit, or delete the profile as needed.

Example: Modbus profile
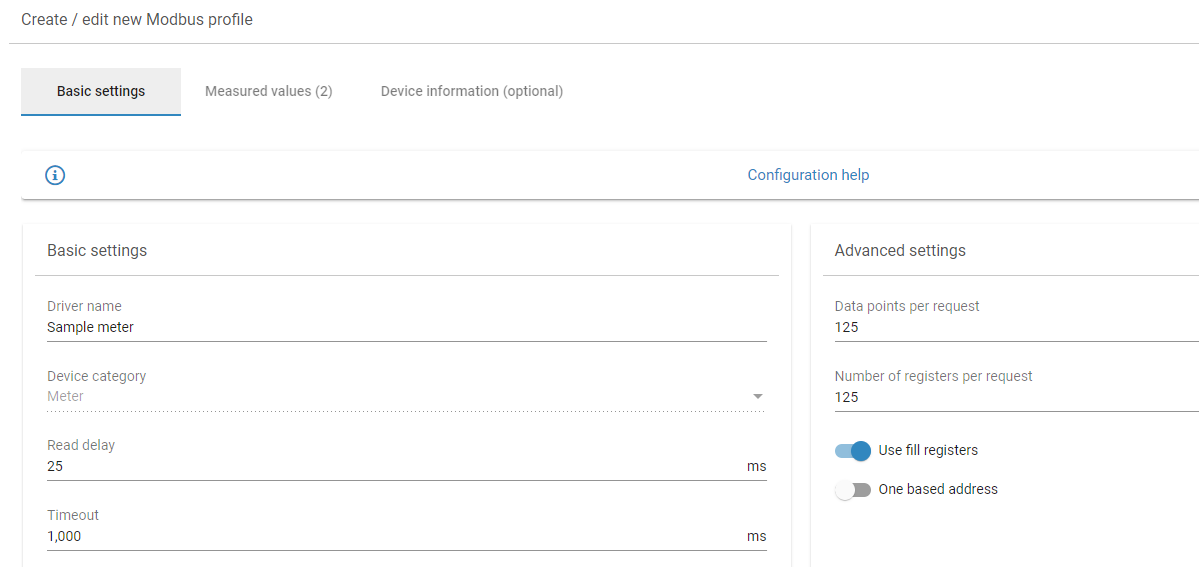
The following example shows a meter that measures active power and active energy in a power control scenario.
Step 1: Basic settings

Step 2: Measured values
-
Measured values: active energy and active power
-
Factor: 1000 to show kWh

Step 3: Optional: Device information
The device information allows you to use the Modbus definition of the device to identify it. When you have successfully scanned for your Modbus device under Meters, it will then appear under Installed devices. If you wish to use the data in further tools (VCOM or SCADA), this will help you to identify the configured device.

Read multiple digital input signals contained in one register
The same register can be used to address multiple digital input signals within a byte by using the bit data type. This is useful for example if you have many digital signals using a Status DI external device, you can simplify how they are read.
For this, navigate to Modbus configurator > New Modbus profile (or Edit an existing profile) > Measured values > Offset column. Select the Configuration help for additional assistance.
Import a Modbus profile
Reusing an existing Modbus profile can be helpful if a driver is unavailable or cannot be generated by meteocontrol. This is particularly useful when applying the same profile to multiple blue'Log devices.
Prerequisites
-
blue'Log XC with firmware 17.0.11 or higher
-
Modbus configurator license. See Data sheet and License.
-
Advanced knowledge of the Modbus communication protocol
-
Modbus interface description from the device manufacturer
Steps
-
If you have an existing Modbus profile (for example from another blue'Log), select Import Modbus profile and upload the file (.JSON format).
-
The profile will be imported into the system.
-
Under Basic settings, you can edit the Driver name.
-
Under Measured values, select the Pencil icon to modify the settings for measured values.
-
Optional: Under Device information, enter the serial number, model, and firmware.